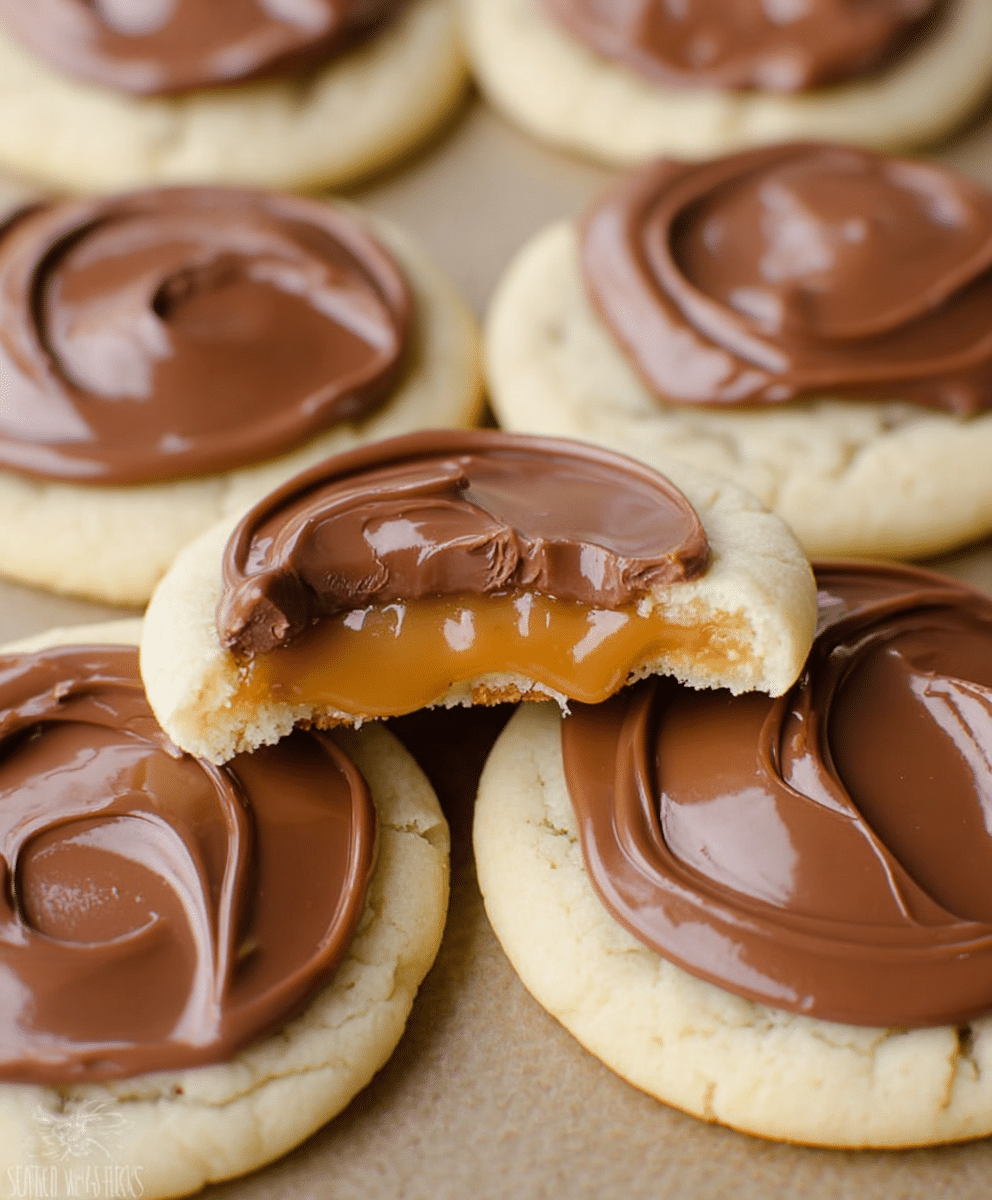
Twix Cookie Cups are a fun, homemade twist on the classic candy bar we all know and love. Instead of unwrapping a store-bought treat, this recipe lets you recreate those iconic flavors—soft cookie base, creamy caramel, and smooth milk chocolate—right in your own kitchen. Each bite delivers the perfect balance of buttery sweetness, chewy caramel, and rich chocolate, all layered on top of a tender sugar cookie crust.
These cookie cups are especially popular around holidays, parties, bake sales, and family gatherings, but they’re simple enough to make any time you’re craving a nostalgic dessert with a homemade touch. With straightforward ingredients and a clear method, this recipe is approachable for beginner bakers while still being impressive enough for experienced home cooks.
What truly sets Twix Cookie Cups apart is their texture contrast. The cookie base is soft yet sturdy, designed to hold layers without crumbling. The caramel is creamy and smooth, not sticky or hard, and the milk chocolate topping sets into a glossy finish that completes the dessert. They’re bite-sized, shareable, and guaranteed to disappear quickly.
Whether you’re baking with kids, preparing treats ahead of a celebration, or simply looking for a crowd-pleasing dessert, Twix Cookie Cups are a reliable favorite that deliver classic flavors in a playful, homemade format.
Why You’ll Love This Recipe
- Combines three classic dessert elements: sugar cookie, caramel, and chocolate
- Inspired by a beloved candy bar, but made entirely from scratch
- Perfectly portioned cookie cups, ideal for sharing
- Simple ingredients with easy-to-follow steps
- Great make-ahead dessert for parties and holidays
- Soft, chewy, and rich without being overly complicated
Ingredients Breakdown
This recipe yields 24 cookie cups. All ingredient measurements and components are listed exactly as provided, with no changes.
Cookie Base
- 1/2 cup (111g) salted butter
- 1/2 cup (115g) granulated sugar
- 1 tsp vanilla extract
- 1 egg white
- 1 1/2 cups (228g) all-purpose flour
- 1 tsp baking powder
Caramel Layer
- 20 caramels, unwrapped
- 1 tbsp milk
Chocolate Topping
- 2 cups (400g) milk chocolate chips
Tools & Equipment Needed
Having the right tools on hand ensures smooth preparation and consistent results.
- Kitchenaid stand mixer
- Flex edge beater attachment (for Kitchenaid)
- Cookie sheet
- Round cookie cutter
- Mixing bowls
- Measuring cups and spoons
- Microwave-safe bowl
- Spoon or small spatula
- Wire cooling rack
Step-by-Step Instructions
Follow these instructions carefully to achieve perfect Twix Cookie Cups. The method below remains 100% accurate to the original recipe.
Step 1: Preheat the Oven
Preheat your oven to 350°. Prepare a cookie sheet and set it aside. The pan should remain ungreased to allow the cookies to bake properly without spreading too much.
Step 2: Cream the Butter and Sugar
In the bowl of a stand mixer fitted with a flex edge beater, cream together the salted butter and granulated sugar until the mixture is light, smooth, and well combined.
Step 3: Add the Egg White and Vanilla
Add the egg white and vanilla extract to the creamed butter and sugar. Mix until fully incorporated and smooth, scraping down the sides of the bowl if needed.
Step 4: Mix in the Dry Ingredients
Add the all-purpose flour and baking powder to the mixture. Mix thoroughly until a soft dough forms. The dough should be smooth and easy to handle.
Step 5: Roll and Cut the Dough
Roll the dough out on a lightly floured surface until it is between 1/4 and 1/2 inch thick. Use a round cookie cutter to cut out circles. Carefully transfer the dough circles to the ungreased cookie sheet, spacing them evenly.
Step 6: Bake the Cookies
Bake the cookies at 350° for 6–8 minutes. Remove them from the oven once they are puffy and no longer glossy on top. Avoid overbaking, as the cookies should remain soft.
Step 7: Cool Completely
Transfer the baked cookies to a wire rack and allow them to cool completely before adding any toppings. This step is important to keep the caramel and chocolate layers stable.
Step 8: Prepare the Caramel
While the cookies cool, place the unwrapped caramels and milk into a microwave-safe bowl. Microwave for 1 minute, stirring at the 30-second mark. Continue stirring until the mixture is smooth and creamy.
Step 9: Add the Caramel Layer
Carefully spoon a few teaspoons of caramel onto each cooled cookie. Spread gently so the caramel almost covers the entire surface of the cookie.
Step 10: Chill the Cookies
Place the cookies with caramel into the refrigerator for 10–15 minutes, or until the caramel layer is completely cold and set.
Step 11: Melt the Chocolate
Melt the milk chocolate chips in the microwave in 30-second intervals, stirring between each interval, until the chocolate is fully melted and smooth.
Step 12: Add the Chocolate Topping
Spread a small amount of melted chocolate onto each cookie, covering the caramel layer. Allow the chocolate to cool and set completely before serving.
Tips & Variations
These tips help you get the best results while keeping the recipe true to its original form.
Texture Tips
- Do not overbake the cookies; they should remain soft and pale.
- Let the cookies cool fully before adding caramel to prevent melting.
- Chill between layers to maintain clean, defined layers.
Ingredient Adjustments
- Dairy-free alternatives may be used for milk and chocolate if needed.
- The caramel can be spread gently with the back of a spoon for even coverage.
Flavor Enhancements
- A very light sprinkle of salt on top of the chocolate can enhance sweetness without altering the recipe structure.
Flavor Profile
Twix Cookie Cups offer a layered flavor experience. The cookie base is buttery and lightly sweet, acting as a soft foundation. The caramel layer is rich, creamy, and slightly chewy, adding depth and indulgence. The milk chocolate topping finishes each bite with smooth sweetness and a satisfying snap once set.
The balance of textures—soft cookie, creamy caramel, and firm chocolate—makes these cookie cups especially appealing and hard to resist.
Nutritional Overview
These cookie cups are a treat meant to be enjoyed in moderation. They provide a satisfying dessert option with a balance of carbohydrates and fats, ideal for special occasions or dessert tables.
Exact nutritional values will vary slightly depending on caramel and chocolate brands used, but portion control is built in thanks to the individual cookie cup format.
Make-Ahead & Meal Prep Tips
- The cookie bases can be baked a day in advance and stored at room temperature in an airtight container.
- Caramel and chocolate layers are best added the same day for the freshest texture.
- Fully assembled cookie cups can be refrigerated until ready to serve.
FAQs
Can I make these ahead of time?
Yes. Once assembled, store them in the refrigerator until serving.
Why use egg white instead of a whole egg?
Using an egg white helps keep the cookie soft and tender without adding excess richness.
Can I freeze Twix Cookie Cups?
Freezing is not recommended, as caramel and chocolate textures may change when thawed.
Do these need to be refrigerated?
They can sit at room temperature briefly, but refrigeration helps keep layers firm and neat.
Can I use homemade caramel?
This recipe is written for wrapped caramels and milk. Substituting may affect consistency.
Cooking Timeline (At a Glance)
| Stage | Time |
|---|---|
| Prep Time | 10 minutes |
| Cook Time | 10 minutes |
| Additional Time | 20 minutes |
| Total Time | 40 minutes |
Serving Suggestions
Arrange Twix Cookie Cups on a platter or tiered dessert stand for parties and gatherings. Their uniform size makes them visually appealing and easy to serve. For gifting, place them in decorative boxes lined with parchment paper.
Recipe Variations (Using the Same Ingredients)
- Thicker Caramel Layer – Use slightly more caramel per cookie for extra indulgence.
- Thinner Chocolate Finish – Spread the chocolate more thinly for a lighter bite.
- Mini Cookie Cups – Use a smaller cutter for bite-sized versions.
- Rustic Style – Swirl the chocolate instead of smoothing it for a homemade look.
Ingredient Spotlight
Caramels
Store-bought wrapped caramels melt smoothly when combined with milk, creating a creamy, spreadable layer that mimics classic candy bar caramel without complicated techniques.
Milk Chocolate Chips
Milk chocolate provides sweetness and smoothness, complementing the caramel without overpowering the cookie base.
Pro Baking Tips
- Stir caramel frequently while melting to avoid scorching.
- Allow each layer to fully set before adding the next for clean layers.
- Use a flex edge beater to ensure even mixing without overworking the dough.
Storage & Freezing Guide
Storage
- Store assembled cookie cups in an airtight container in the refrigerator for up to 4 days.
Freezing
- Freezing is not recommended due to texture changes in caramel and chocolate.
Nutrition Estimate Table (Per Cookie Cup)
| Nutrient | Estimated Amount |
|---|---|
| Calories | ~200 |
| Carbohydrates | Moderate |
| Fat | Moderate |
| Protein | Low |
Dietary Notes: Vegetarian-friendly, nut-free.
Expanded Conclusion
Twix Cookie Cups are a delightful homemade dessert that capture everything people love about the classic candy bar—only better, fresher, and more fun to make. With a soft sugar cookie base, a creamy caramel center, and a smooth milk chocolate topping, these cookie cups deliver comfort, nostalgia, and indulgence in every bite.
They’re easy to prepare, visually appealing, and endlessly shareable, making them a perfect choice for celebrations, holidays, or simply satisfying a sweet craving. Once you try them, they’re sure to become a repeat favorite in your baking rotation. Give them a try, share them with friends and family, and enjoy the magic of turning a classic candy bar into a homemade dessert worth savoring.
Print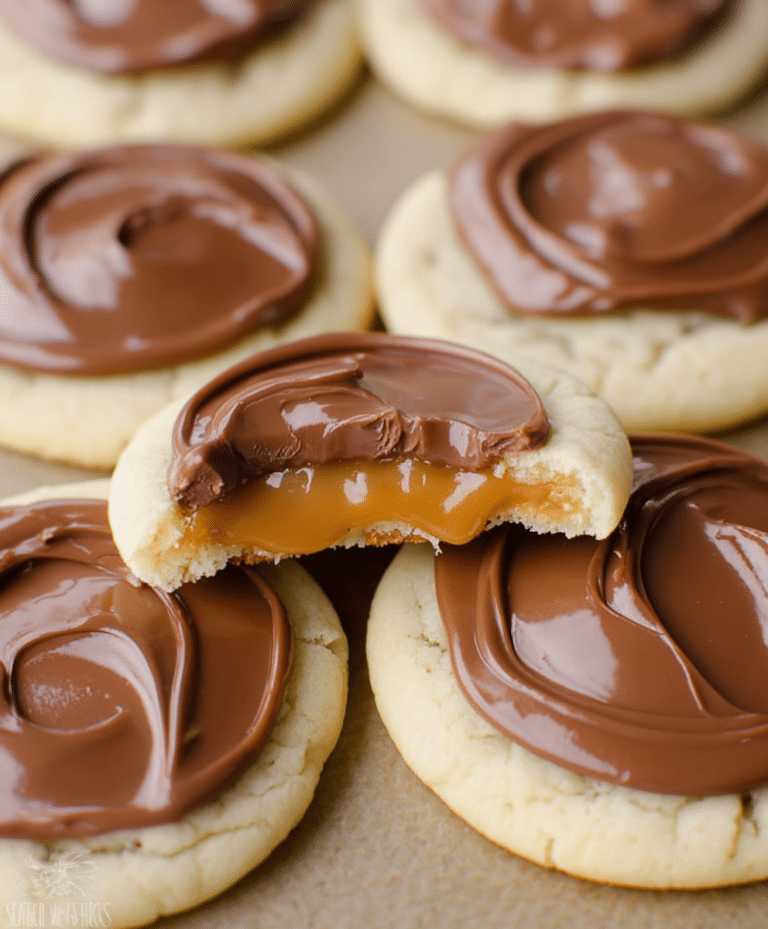
Twix Cookie Cups
Twix Cookie Cups feature a soft sugar cookie base topped with creamy caramel and finished with smooth milk chocolate. Inspired by the classic candy bar, these fun and indulgent cookie cups are perfect for parties, holidays, or anytime you want a homemade Twix-style treat.
- Total Time: 40 minutes
- Yield: 24 cookie cups
Ingredients
- 1/2 cup (111g) salted butter
- 1/2 cup (115g) granulated sugar
- 1 tsp vanilla extract
- 1 egg white
- 1 1/2 cups (228g) all-purpose flour
- 1 tsp baking powder
- 20 caramels, unwrapped
- 1 tbsp milk
- 2 cups (400g) milk chocolate chips
Instructions
- Preheat the oven to 350°F (175°C).
- Cream together the butter and sugar until smooth.
- Add the egg white and vanilla extract, mixing until well combined.
- Add the flour and baking powder and mix thoroughly to form a dough.
- Roll the dough out to 1/4–1/2 inch thickness. Cut into circles and place on an ungreased cookie sheet.
- Bake for 6–8 minutes, removing when cookies are puffy and no longer glossy.
- Transfer cookies to a wire rack and cool completely.
- Microwave the caramels with milk for 1 minute, stirring at the 30-second mark, until smooth.
- Spoon caramel onto each cookie and spread nearly to the edges.
- Refrigerate cookies for 10–15 minutes until the caramel is fully set.
- Melt chocolate chips in 30-second intervals until smooth.
- Spread chocolate over each cookie and allow it to set before serving.
Notes
- Allow each layer to fully set before adding the next for the cleanest look.
- Store cookie cups in an airtight container at room temperature or refrigerate for firmer caramel.
- Mini muffin tins can be used to shape thicker cookie cups if desired.
- Prep Time: 10 minutes
- Cook Time: 10 minutes
- Category: Dessert
- Method: Baking
- Cuisine: American